24/7 Emergency Plumbing — Gauteng service coverageEmergency: 068 329 9795   |   sales@plumbers-near-me.co.za

Geyser Repairs

In-depth customer help

Geyser Repairs

Geyser faults should be handled carefully because they involve pressure, hot water and electricity. This guide helps visitors understand hot-water symptoms without encouraging unsafe DIY, focusing on safe observation, correct isolation, common fault routes and proper testing after repair.

Reading geyser symptoms safely

Geyser faults often show through symptoms before the actual failed part is visible. No hot water can involve electrical supply, thermostat, element, wiring or timer issues. A running overflow may involve pressure, expansion control or valve behaviour. Water in the drip tray can point to a tank, flange, union, valve or pipework leak. A ceiling mark below the geyser area should be treated seriously because the tray and overflow may not cope forever.

Customers should not remove electrical covers, cap overflow pipes or force geyser valves. The safest information to collect is visual: is water coming from the overflow pipe, drip tray, ceiling, valve, union or pipe near the geyser? Is the water hot or cold? Did the problem start after municipal pressure changes, load-shedding, maintenance, a power trip or a previous repair? These clues help separate plumbing, pressure and electrical routes.

  • Do not block overflow or discharge pipes.
  • Do not open electrical covers.
  • Photograph the tray, valve area and overflow route if accessible.
  • Tell the plumber if water is hot, cold, intermittent or continuous.

Why valves and pressure matter

Many geyser complaints are not simply “the geyser is broken”. A dripping discharge can be related to normal expansion, failed valves, incorrect pressure, poor installation, blocked discharge route or a component near the geyser rather than the tank itself. Replacing parts without checking pressure and visible pipework can leave the same symptom returning.

A proper visit should inspect the drip tray, overflow route, cold supply, visible valves, unions and signs of corrosion or previous leaks. Where compliant components are needed, the repair should suit the installation and local requirements. If the cylinder itself is leaking, the conversation changes from minor repair to replacement planning, access, drainage, electrical reconnection and certification.

  • Check tray and overflow before assuming cylinder failure.
  • Separate valve discharge from tank or flange leaks.
  • Consider pressure control when overflow keeps running.
  • Test the system after repair before leaving.

What customers should ask after a geyser visit

After the repair, the customer should understand what failed and what was tested. Was it a valve, union, flange, pipe, thermostat, element, tray issue or cylinder leak? Was the overflow route checked? Was hot water restored safely? Are there signs that age, pressure or corrosion may cause another issue soon? This information is more useful than a short “fixed” note.

Good geyser advice also includes prevention. Know where the geyser isolator is, where the cold supply valve is, what a normal overflow looks like and when to call quickly. A small drip may need observation; a tray running continuously or ceiling stain needs faster action.

  • Ask which component failed.
  • Ask whether the overflow route is working.
  • Ask whether pressure contributed to the fault.
  • Keep photos of replaced parts and tested areas.
Geyser Repairs Visible symptoms

Visible symptoms

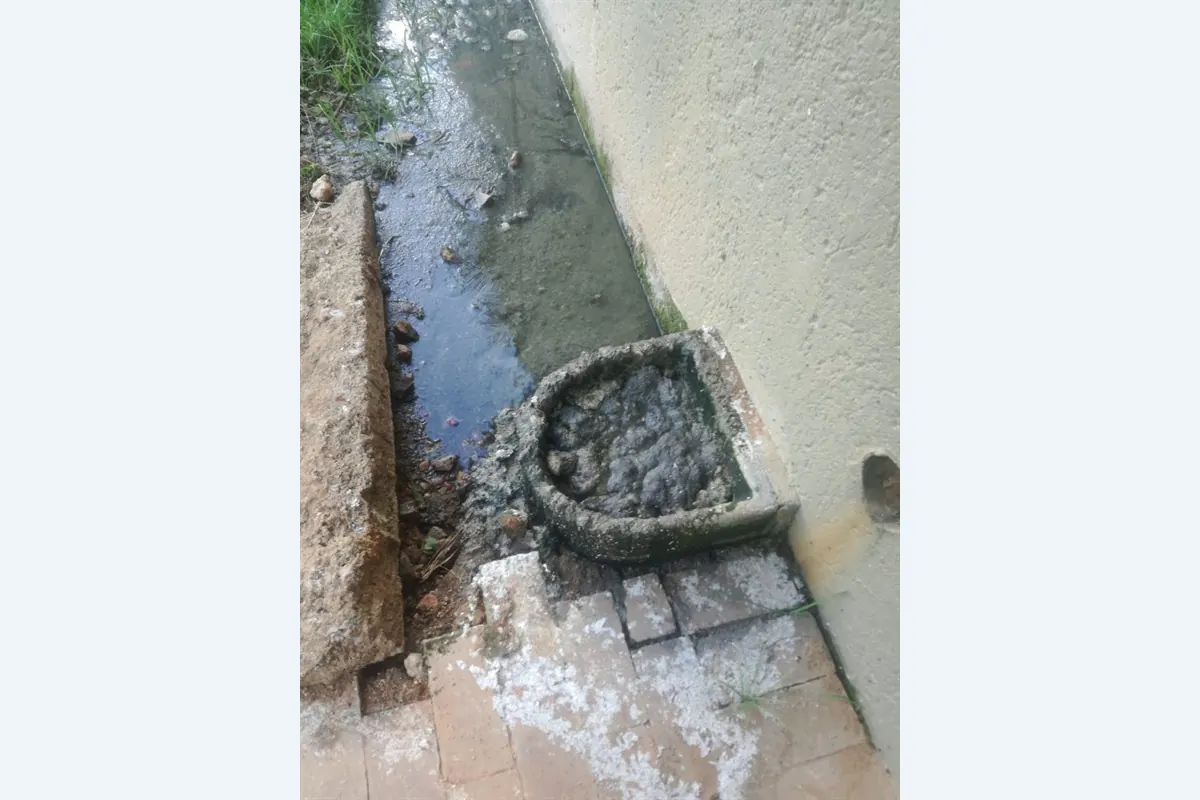
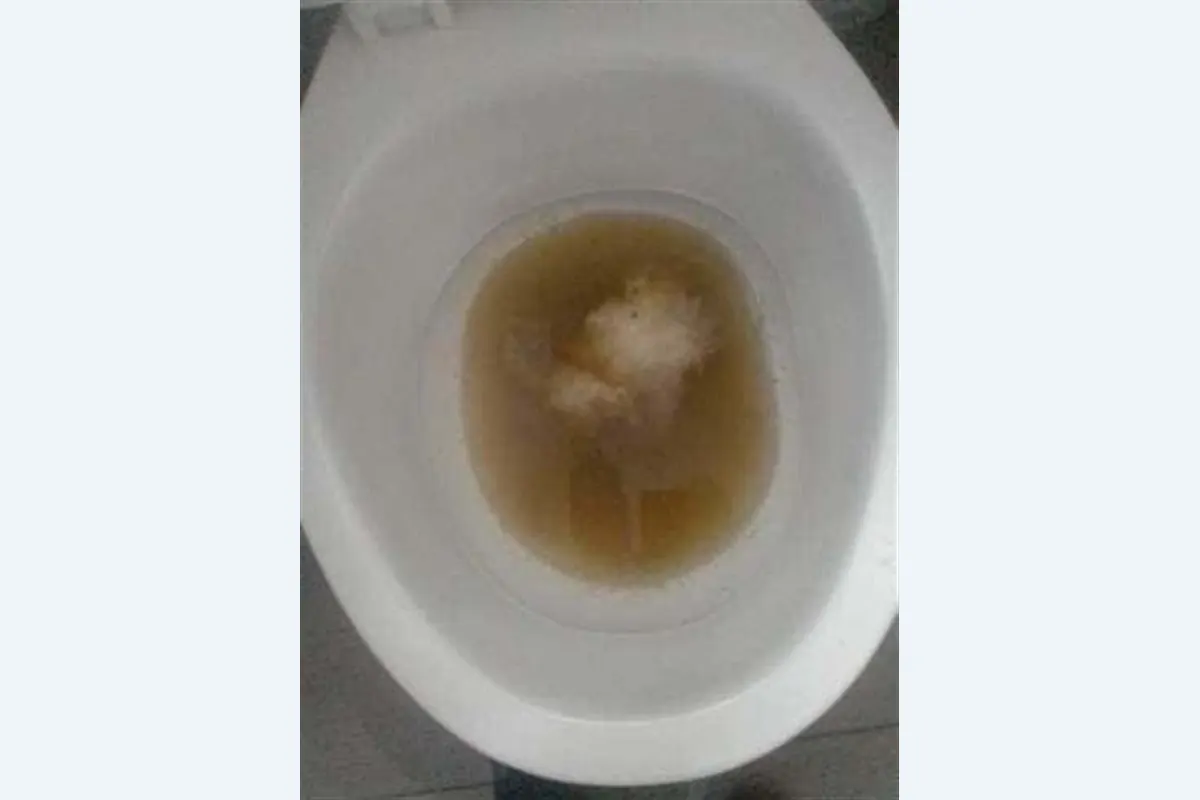
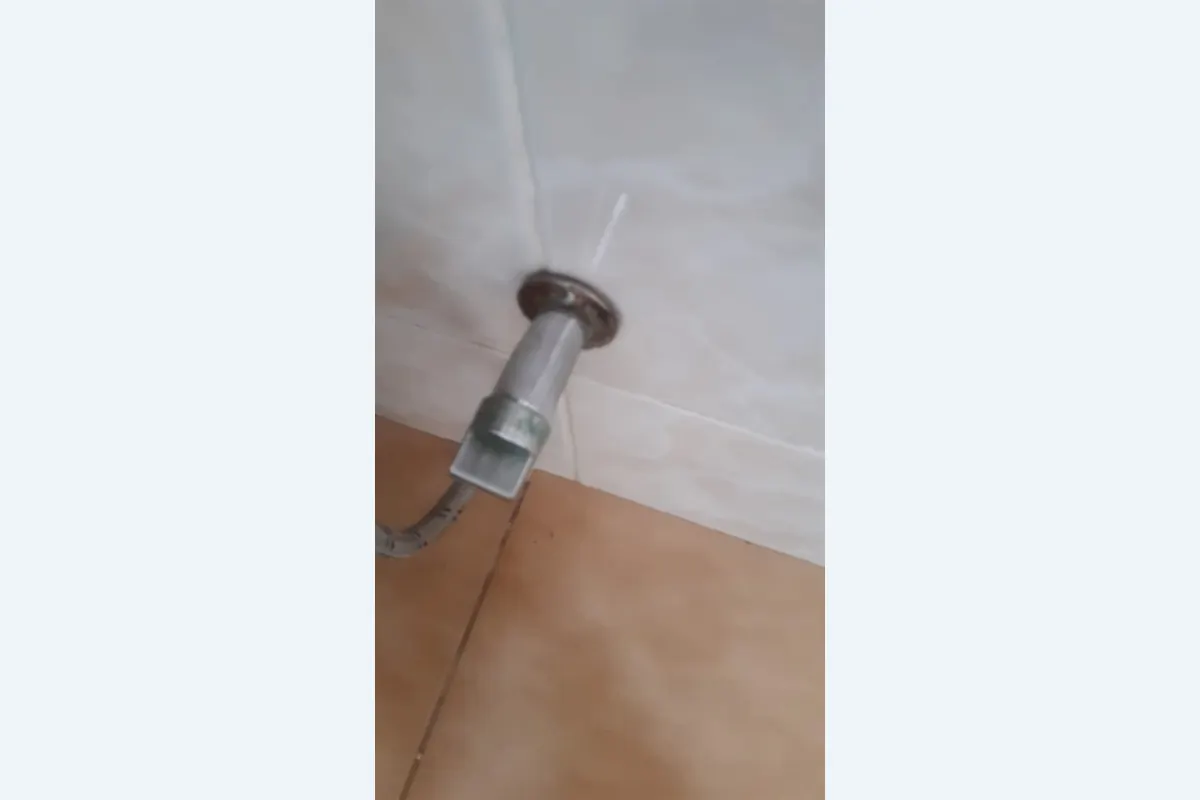
A useful plumbing photo does not only show the wet spot or blocked fixture. It shows the surrounding room, paving, inspection point, cupboard, ceiling line or geyser position so the plumber can understand the relationship between the symptom and the likely route of the pipe or drain. For a leak, the visible stain may be a metre away from the actual pipe because water tracks along beams, conduits, tile lines or cupboard bases. For a drain problem, the first overflow point may not be the blockage; it may simply be the lowest place where pressure can escape. For a geyser, water in the tray, a running overflow pipe, a ceiling mark and a pressure-control valve can all tell different stories. This is why one wide photo, one close photo and one photo of the nearest valve or access point are so valuable. They help the team decide whether the first response is isolation, clearing, detection, parts preparation or a safety check before any surface is opened.

Geyser Repairs Repair access

Repair access

Access is often the difference between a simple repair and a difficult one. A burst pipe may be easy if it is exposed under a basin, but slow and disruptive if it is behind tiles, under paving, inside a ceiling void or behind fitted kitchen cupboards. A blocked drain may clear quickly from a nearby inspection eye, but take longer if the access point is buried, broken, paved over or inside a complex service zone. A geyser fault may need roof, ceiling or cupboard access, plus safe isolation of water and electricity. Good access notes help the team prepare the right tools and explain the likely route honestly before work starts. Customers should mention locked gates, estate entry, pets, tenants, parking limits, steep driveways, ceiling hatches, cupboard panels, paving, garden beds, shop trading hours or body corporate rules. These details prevent wasted time and reduce the chance of opening the wrong area first.

Geyser Repairs Useful proof

Useful proof

Good proof is not only a before-and-after image. It is a short trail showing what was checked, what was found, what was repaired and how the repair was tested. For a leak, useful proof may include the meter test, exposed pipe section, replaced fitting and a dry pressure check. For a blocked drain, it may include the inspection eye, removed obstruction, flush test and advice if the line blocks again. For a geyser, it may include the valve or pipework replaced, overflow route checked and safe operation confirmed. For a toilet, it may include the cistern mechanism, pan behaviour, outside gully check and final flush test. This kind of proof helps the customer understand the job and helps future visits because the next plumber can see what was already done. It also protects the business from vague explanations by showing the practical route taken, the fault found and the standard of care used during testing.

Practical job steps we consider

These points are based on our plumbing job checklist and are written for customers so the visit makes sense. The exact route depends on the property, access, pipe material, drainage layout and safety conditions on arrival.

  1. Switch off the geyser isolator at the DB when electrical safety may be involved.
  2. Close the cold supply to the geyser and open a hot tap to relieve pressure.
  3. Inspect the drip tray, overflow route, valves, unions and visible pipework.
  4. Separate tank leaks from valve, flange, union or pipework leaks.
  5. Replace faulty compliant components rather than blocking discharge pipes.
  6. Restore water and power only when the repair route is safe to test.
  7. Check overflow behaviour after the repair instead of assuming the drip has stopped.
  8. Explain whether the fault suggests pressure, age, valve wear or a replacement discussion.

Need help choosing the safest next step?

Send the suburb, photos, visible symptoms, access notes and whether the water or waste is still active. We can then help you decide whether the right route is urgent attendance, leak detection, drain clearing, geyser repair, a planned quote or the correct part matched to the system.

Call Emergency Line Email Photos For Help
Call EmergencyWhatsApp
WhatsApp