When a pipe bursts, isolation, access, pipe material, pressure and testing decide the safest repair route. The goal is to stop water damage quickly, avoid unnecessary breaking and make sure the repaired section is sound before the area is closed again.
What matters before opening walls or paving
When a pipe bursts, the visible water is not always where the pipe failed. Water can travel along conduits, slab edges, walls, ceilings, cupboard bases or paving before it appears. The first responsible step is isolation and confirmation. If the main stopcock closes and the meter stops moving, the plumber can work from a more controlled position. If the meter keeps moving, there may be another route, a failed valve or an issue on the supply side that needs deeper checking.
Access should be planned before cutting. A neat access opening over a confirmed pipe route is very different from random breaking. The plumber should consider pipe material, likely age, fittings, pressure, electrical services, nearby tiles and whether a temporary repair is enough or the section needs replacement. A split in brittle pipe may need cutting back to sound material rather than joining onto the weakest edge.
- Isolate first and drain remaining water where possible.
- Use meter behaviour and visible route clues before cutting.
- Confirm pipe material before choosing fittings.
- Test under pressure before closing the access area.
Why the repair route changes from job to job
Not every burst pipe should be repaired in the same way. Exposed copper under a basin may need a short section and compression or soldered repair. PVC, PEX, HDPE or older galvanised pipework need different fittings and preparation. Underground lines may need careful hand-digging around the pipe to avoid creating a second break. Pipes under paving may need a decision between local repair and reroute if the surrounding line is brittle or repeatedly failing.
A good repair also considers why the burst happened. Pressure spikes, old pipe material, unsupported lines, corrosion, poor previous repairs, movement, tree roots, impact damage or thermal expansion can all contribute. If only the obvious split is fixed and the cause is ignored, the customer may face another failure nearby. Helpful content should explain these decisions so the visitor understands why a professional may recommend more than a quick patch.
- Pipe material controls the correct fitting method.
- Old brittle pipe may need a longer replacement section.
- Underground work should expose carefully and support the line.
- Pressure and valve behaviour should be checked after repair.
After the repair is complete
Testing is the part that gives the customer confidence. The line should be opened slowly, checked under pressure, watched at the repaired joints and confirmed by meter behaviour where relevant. If the pipe was inside a wall, ceiling or cupboard, the area should remain visible long enough to confirm it stays dry before final closing or finishing. If the burst caused damage, the plumber can explain which parts were plumbing-related and which parts may need drying, building or insurance follow-up.
Customers should keep photos of the repair, the exposed pipe, the fitting used and the test. This is useful for future visits and can help explain what was repaired if the property is rented, insured or managed by a body corporate.
- Open water slowly after repair.
- Check joints and nearby fittings while under pressure.
- Confirm the meter stops when all fixtures are closed.
- Keep repair photos for future reference.
Practical job steps we consider
These points are based on our plumbing job checklist and are written for customers so the visit makes sense. The exact route depends on the property, access, pipe material, drainage layout and safety conditions on arrival.
- Close the main stopcock or local isolator before the failed line keeps feeding water.
- Open a low tap to release trapped pressure and reduce the amount of water left in the pipe.
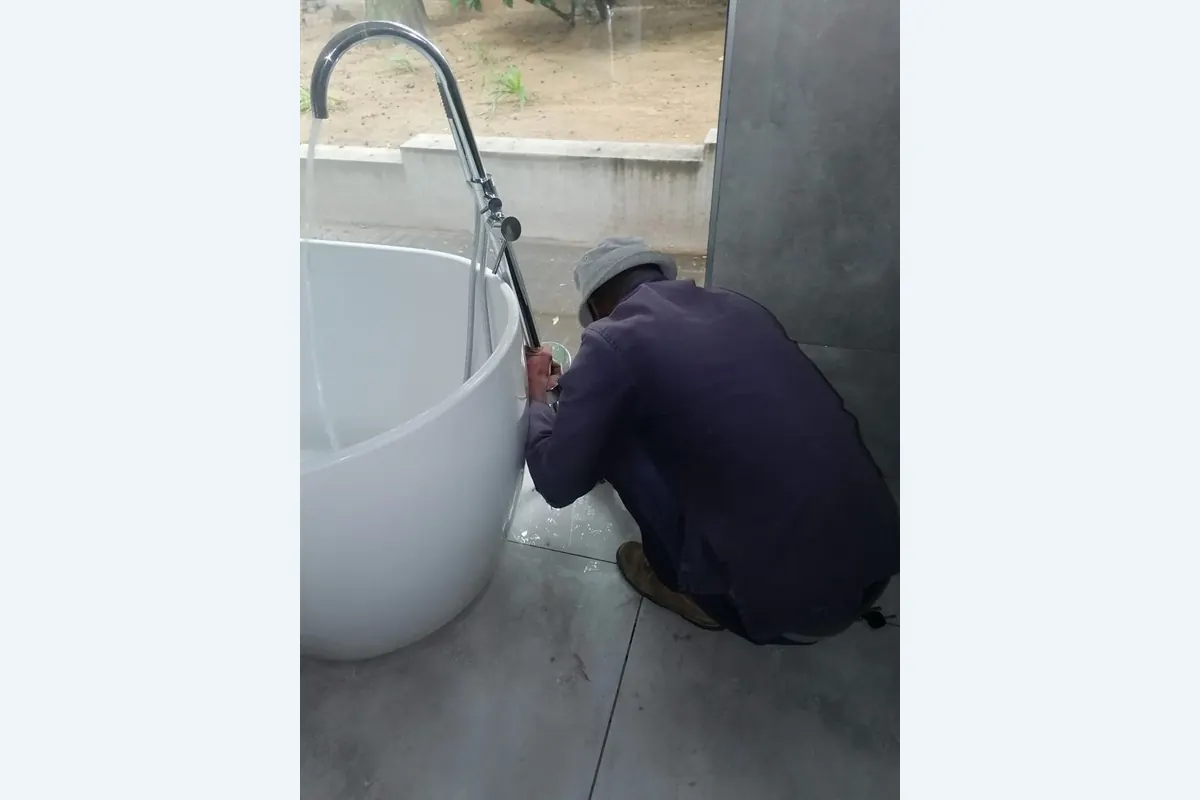
- Expose the burst section carefully without stressing the pipe further.
- Cut back to sound material rather than joining onto a weak or split edge.
- Deburr and clean the pipe ends before fitting the repair section.
- Confirm the pipe material and outside diameter before choosing copper, PVC, PEX or compression fittings.
- Fit a rated repair coupling or replacement section suited to the system.
- Open the water slowly and test the repair under pressure before closing the access area.
Need help choosing the safest next step?
Send the suburb, photos, visible symptoms, access notes and whether the water or waste is still active. We can then help you decide whether the right route is urgent attendance, leak detection, drain clearing, geyser repair, a planned quote or the correct part matched to the system.
Call Emergency Line Email Photos For Help